After lots of planning and preparation, yesterday I did my first all grain brew. I ordered a kit with just the right amount of grain and hops for the planned brew, the Summer Lightning one from BrewUK. After I made sure everything was clean and ready, I put the required amount of liquor (water) in the boiler which also doubled as my hot liquor tank (HLT), brought it up to strike temperature and added it to my mash tun. Next was just a case of adding the grain and making sure it was well-mixed to avoid any dry pockets.
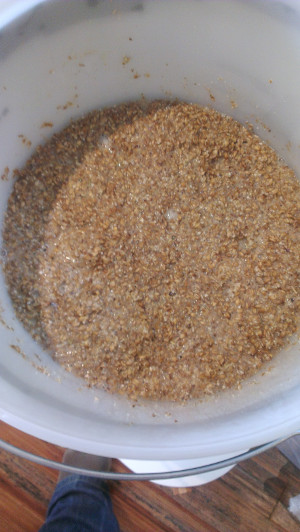
Grain added, mash beginning
After that there’s not much else to do but wait, and not be tempted to lift the lid and take a temperature reading! The mash seemed to go well, and after 90 minutes I drew the first runnings out (vorlauf) and filtered it back through the grainbed slowly to get rid of the worst of the sediment out. Next up, sparging. Now, for some reason I hadn’t really totally planned the sparge, and wasn’t sure which way I wanted to do it. In the end I took a big piece of foil, poked loads of holes in it and laid it over the top of the grist. I attached some plastic tubing to the HLT tank and tried to match the speed of the wort coming out, with sparge water coming in. Nice and slow, and it seemed to work. The very pale wort coming out at the end was still just sweet.
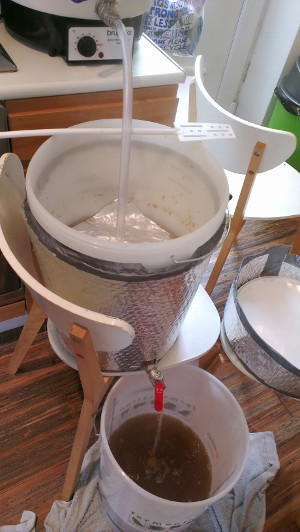
Makeshift fly-sparge in action!
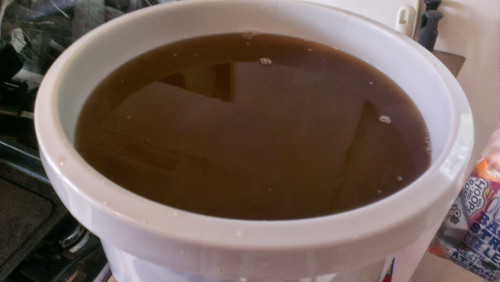
…and here’s the wort from the mash and sparge.
I got the wort straight into the boiler and brought it all up to a vigorous, controlled boil. As soon as it came to the boil I added the Challenger hops…
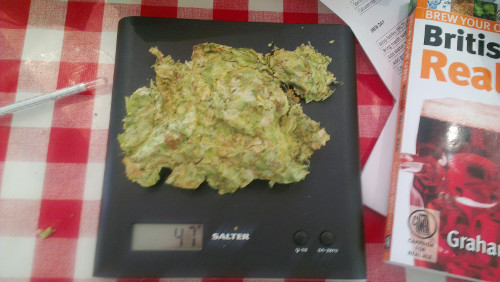
Challenger hops ready for the boiler
The goldings hops went in later in the boil for flavour, and then again after the boils once it all cooled to ~80 degrees for aroma (if the wort is boiling, the aroma oils are driven off). After those finished steeping I poured the wort into the clean and sterilised no-chill cube.
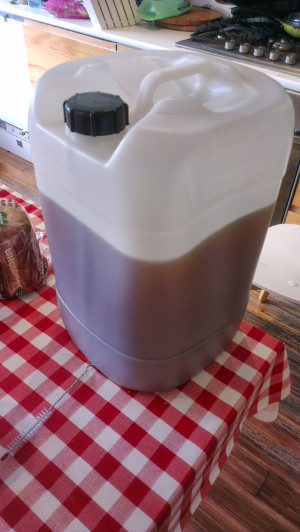
Freshly boiled wort in the no-chill to cool overnight.
I put the no-chill in the corner of the kitchen to cool overnight, and managed to resist the urge to open it and keep looking and smelling the sweet liquid. This morning I came down for the relatively quick and easy step of getting the wort into the fermenting vessel (FV) and pitching the yeast. I was lucky that the temperature in the no-chill came down to exactly 22 degrees, which is just about perfect for the yeast I used.
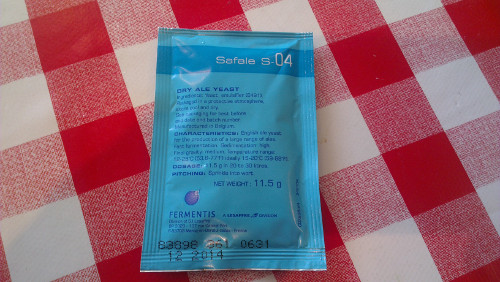
Safale s-04 ale yeast
The first thing I had to do was taking a gravity reading with a hydrometer to get the Original Gravity (OG). I was aiming for a reading of 1049, but came out closer to 1060, which is way too high for my intended final ABV of 5%. Adding 3 litres of clean, cool water brought the total to 21.5 litres and a reading of ~1050, which is close enough for me on my first brew.
Adding the yeast is called ‘pitching’, and because I wasn’t using a starter I pitched the dried yeast straight on top of the wort, which was foamy thanks to the good aerating I gave the wort on its short trip from no-chill to FV.
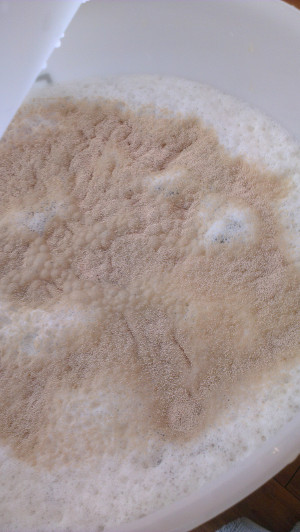
Yeast freshly pitched
I sealed up the FV, fitted the bubbler air-lock and that’s it! All I have to do now is wait a week or two for the fermentation to finish, and I’ll be ready to bottle and barrel the beer.
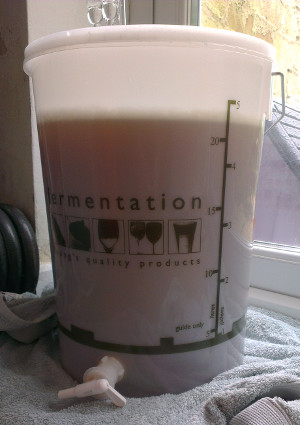
Frehsly brewed beer, fermenting away
Thoughts on the process
Overall, brewing from grain was much easier than I was expecting. Although there’s a lot to do, a lot to measure, and a lot to remember, it’s still quite straight-forward. You need to allow at least a couple of hours more than you anticipated, there are always little things to do that take time.
Next time I’ll prepare some more sparge water too, I don’t thing I’d have needed to top up this morning if I’d just run a few more litres through.